

In the world of off-roading, it’s easy to get caught up in the excitement of upgrading your vehicle with lift kits, powerful off-road lighting, rugged wheels, and oversized tires. But let’s not forget the fundamental skills that can save your day when the unexpected happens – like finding a nail or screw lodged in your tire! While carrying a full-size spare is ideal, it’s not always possible. That’s why knowing how to repair a tire is a crucial off-road skill that every adventurer should possess.
Mastering Off-Road Essentials:
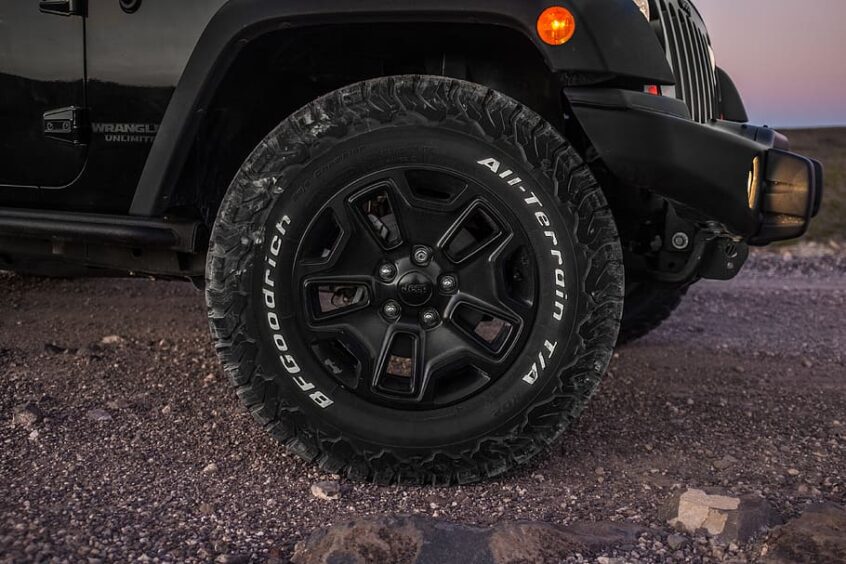
How to Repair a Tire
In this guide, we’ll walk you through the process of tire repair, covering everything from the components of a tire plug kit to the step-by-step repair process.
What’s Included in a Tire Plug Kit?
Tire plug kits are your lifeline when you encounter a punctured tire. They typically include the following components:
- Tire Plugs: These are nylon or leather cords coated in a tacky rubber compound, serving as the actual plug to seal the hole.
- Rubber Cement: While not always included, small tubes of rubber cement are often used to lubricate the tire plug during installation and encourage better adhesion.
- T-Handle Reamer Tool: This tool resembles a rounded file and is used to remove loose rubber and prepare the punctured hole for plugging.
- T-Handle Plug Installation Tool: A specially-designed tool for gripping the plug and inserting it into the tire.
Additionally, it’s a good idea to keep a pair of flush-cut pliers or a razor blade on hand to trim any excess plug once it’s inserted.
How to Plug a Tire (Step-by-Step)
Now, let’s dive into the step-by-step process of plugging a tire:
Step 1: Assess the Damage Before you begin, assess the damage to determine if the tire is repairable. Check the hole’s size, whether any foreign object is still inside, and its location within the tire. Generally, a tire is repairable if the hole:
- Is under ¼-inch or 6 mm in diameter
- Lies within the crown of the tire (the inner tread, about 1.5–2 inches in from the inner and outer sidewalls)
- Doesn’t overlap with existing repairs
Note: Tire sidewall damage is usually not repairable.
If the damage meets these criteria, you can proceed to the next step.
Step 2: Elevate Your Vehicle and Remove the Tire Ideally, you should jack up the vehicle and remove the tire to make the repair easier. However, in emergency situations where access to a jack is limited, you may skip this step. Jacking up the vehicle and removing the tire provides better access to the repair area and minimizes air loss.
Step 3: Remove the Object If a foreign object is still lodged in the tire, remove it. You can often unscrew screws or lag bolts from the tread, while nails and non-threaded objects may require a flathead screwdriver or long-nose pliers.
Tip: Prepare the tire plug kit before removing the foreign object to minimize air loss.
Step 4: Prep the Hole Inspect the hole left by the foreign object. You’ll likely find jagged edges or loose rubber, and the hole may be too narrow for the tire plug and tool. Use the T-handle reamer tool from your kit to prepare the hole. Align the tool’s tip with the hole and insert it firmly. Work the tool up and down while rotating to widen the hole to match the tool’s size. This step also roughens up the tire carcass, promoting adhesion.
Step 5: Insert Plug Into Tool Take the tire plugs and the insertion tool. Ensure that the plugs are still pliable and tacky; if they’re not, they may be old and unusable. Thread the plug’s tip through the hole at the tool’s tip, similar to threading a string through a sewing needle. Pull the plug until an even amount protrudes from both sides.
Step 6: Apply Rubber Cement If your tire plug kit includes rubber cement, apply it to the plug. This helps hold the plug in place. Open the tube and coat the plug liberally. Once cured, the rubber cement provides additional support.
Step 7: Plug the Tire With the plug inserted into the installation tool and coated in rubber cement, line up the tool and plug with the hole. Press down firmly until only about an inch of the plug remains exposed.
Step 8: Remove the Tool The tool has an eyelet with a specially-designed slit at its base, allowing you to remove it without shifting the plug. Ensure the tool is perfectly straight and then yank it out of the tire in a single, swift motion. This should allow you to remove it without disturbing the plug or causing a leak.
Step 9: Remove Excess Plug and Cement After letting the plug and cement cure for about 5–10 minutes, trim the excess plug, leaving approximately ⅛-inch remaining. Wipe off any remaining rubber cement with a shop rag or paper towel.
Step 10: Refill Tire and Check for Leaks With the repair complete, refill the tire and check for leaks. Apply soapy water or any liquid over the repaired area and inspect for bubbles. If there are no bubbles, the repair is successful!
Is a Plug a Permanent Fix? There’s ongoing debate about whether a plug is a permanent or temporary fix. While tire plugs can last for thousands of miles without issue, it’s best to consider them as semi-permanent. While suitable for short-term use, it’s advisable to have the damaged tire professionally patched by a reputable tire shop when it’s convenient.
So, the next time you hit the trails, remember the importance of mastering the art of tire repair. It’s a skill that can save your off-road adventure when the unexpected happens!
As an E3 Offroad & Overland member, you get access to TONS of informative offroad and overland articles and content. Sign Up or Log In today and enjoy all of the tools, resources, product discounts, community and entertainment that E3 Offroad / Overland Association offers.